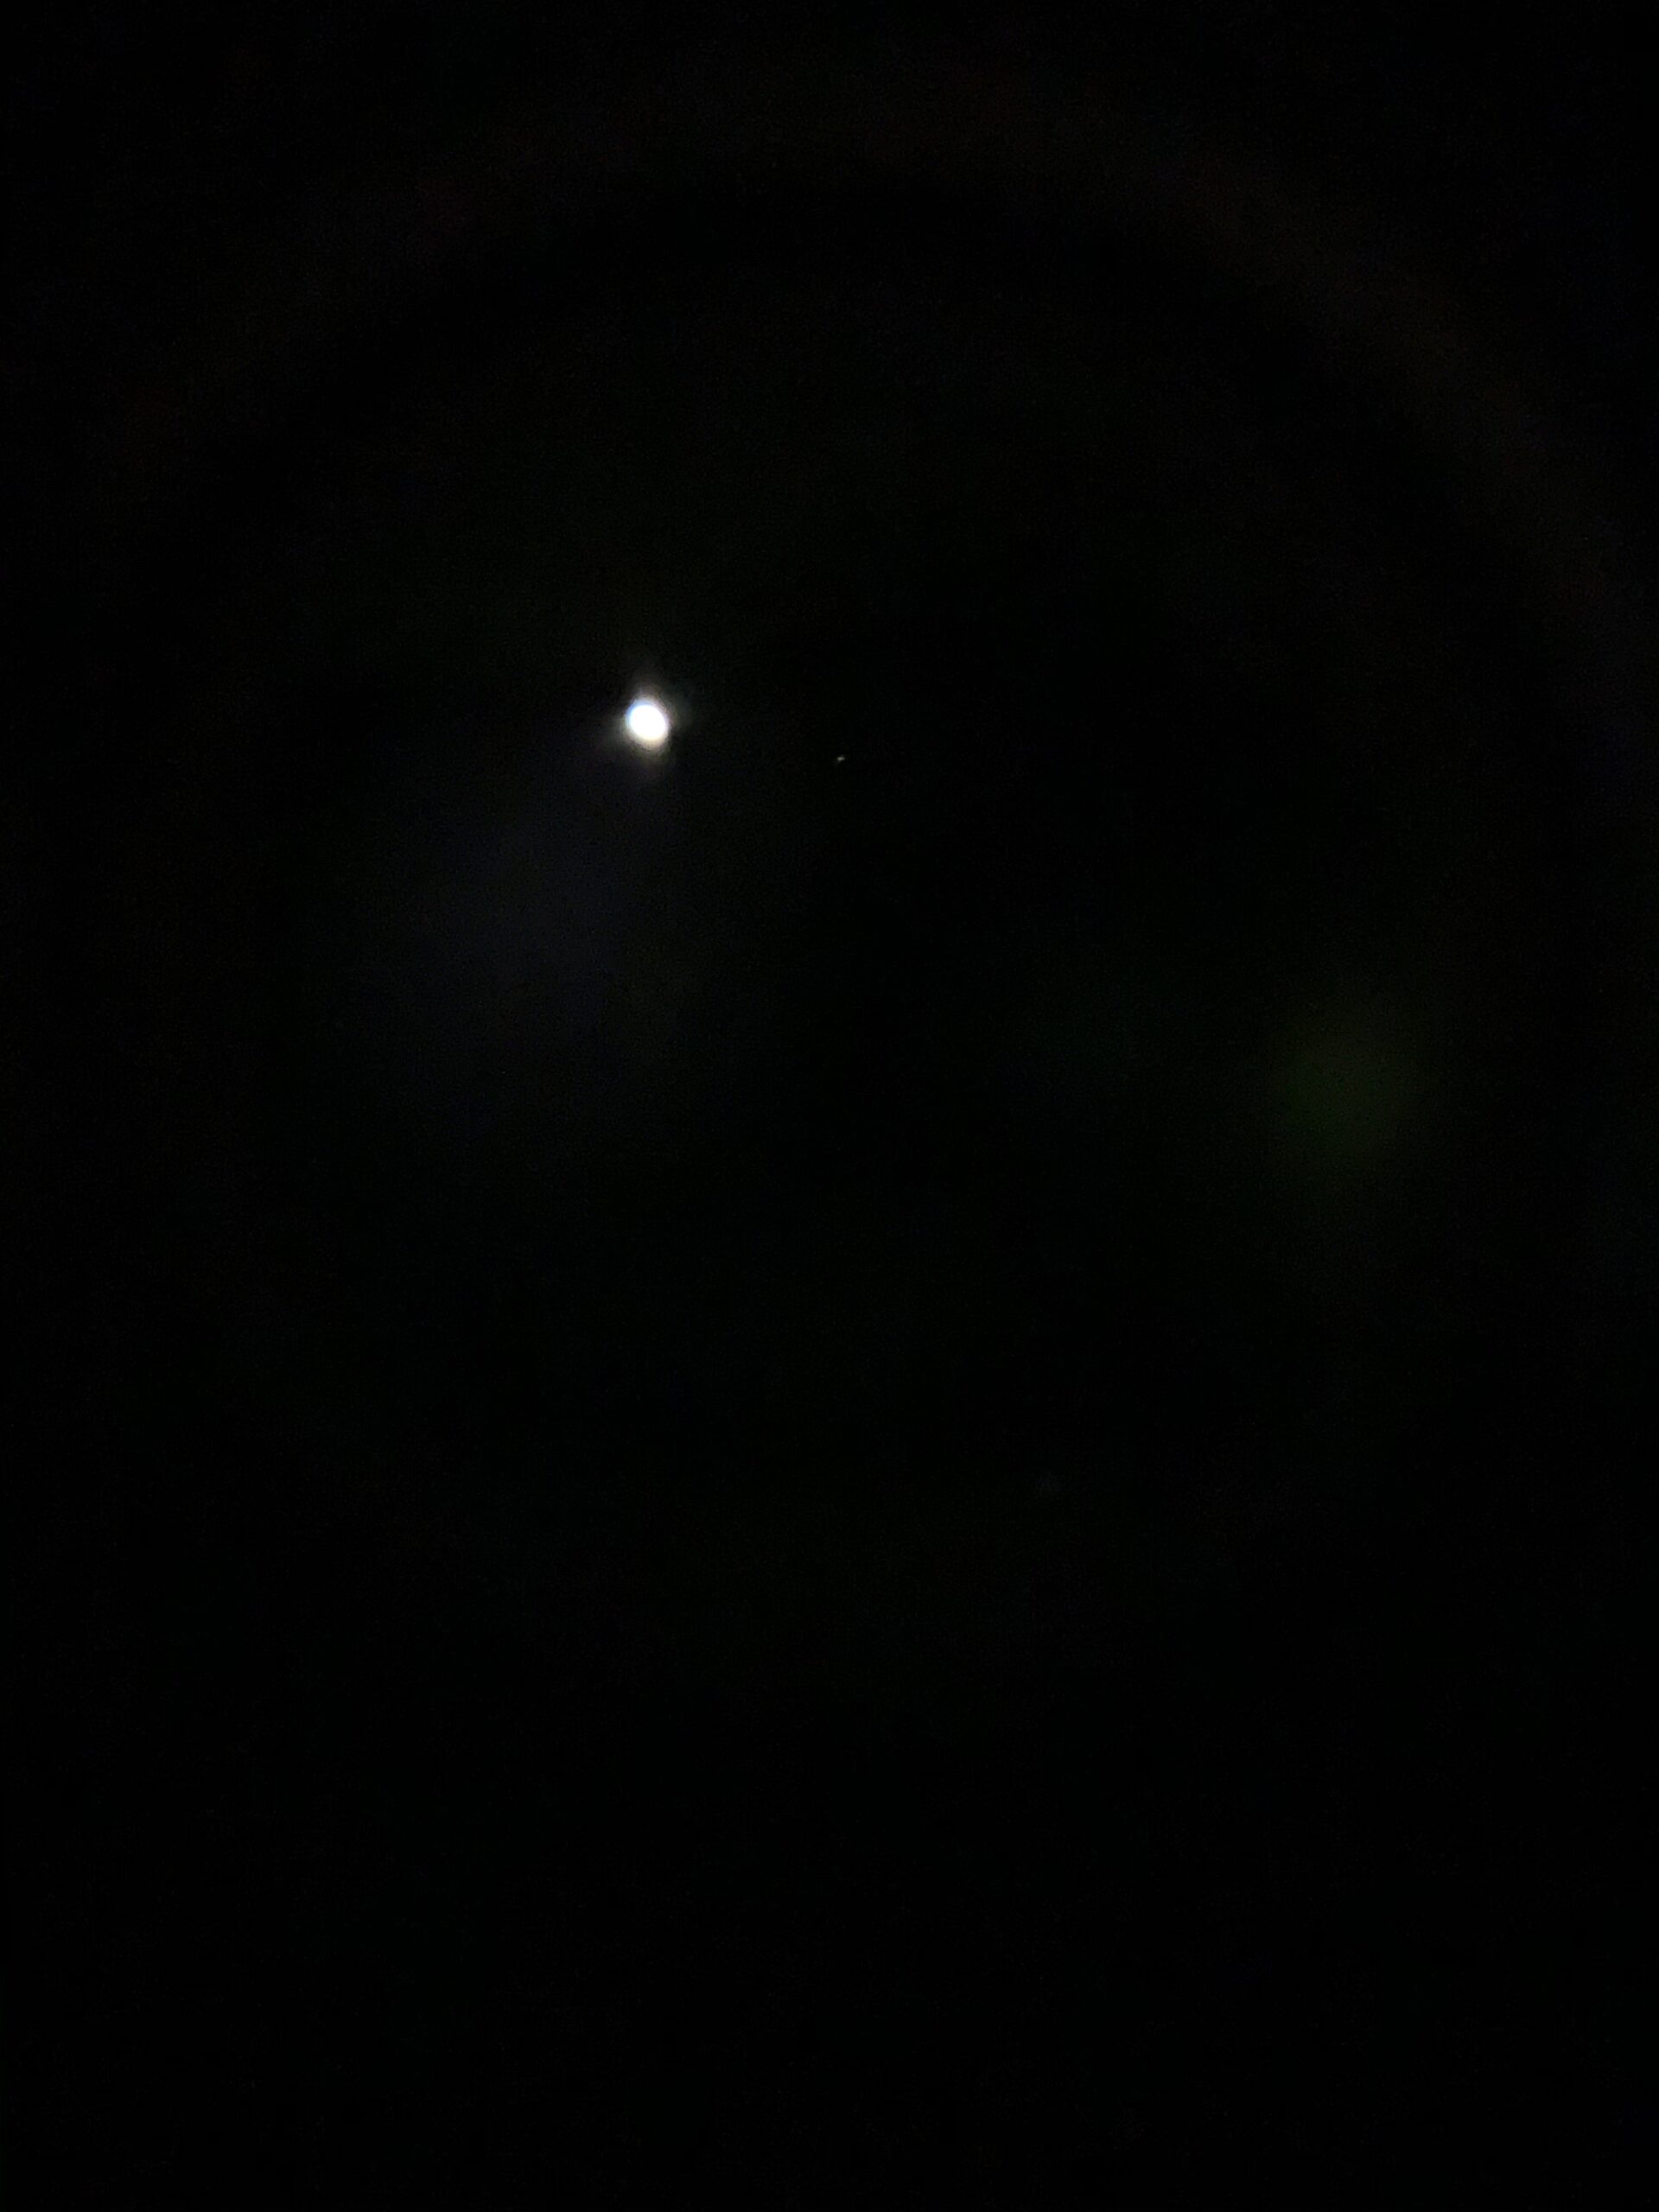
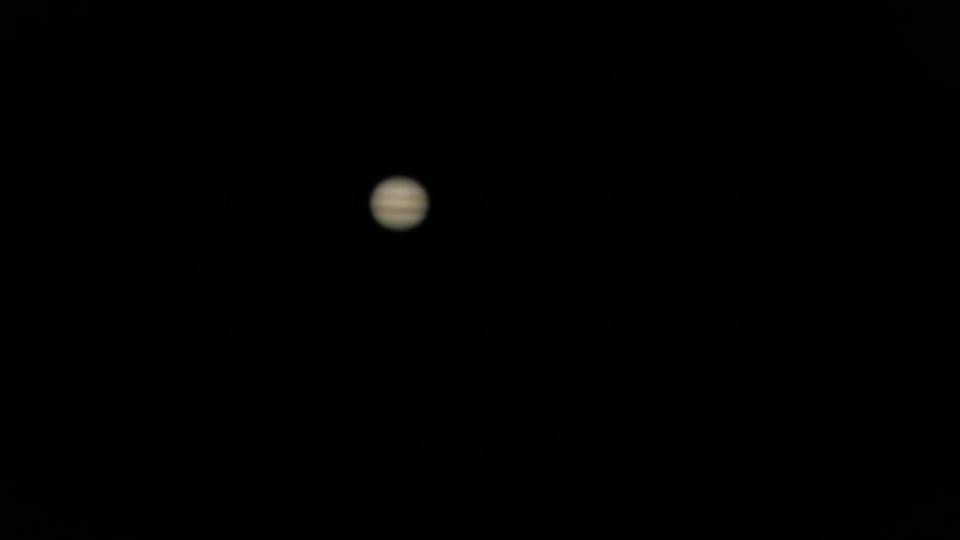
I started like most people, holding my phone over the eyepiece trying to snap a sharp picture (spoiler: doesn’t work (maybe for the moon)).
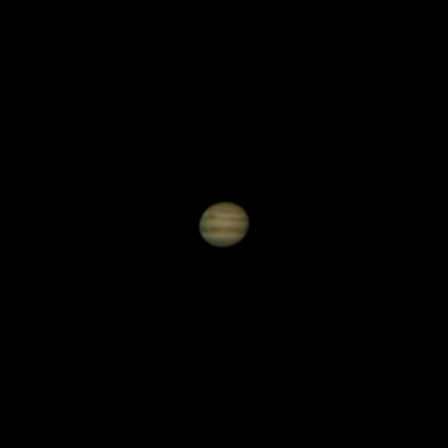
Most of the time you will end up with a bright blob like in the first picture below. You will however be able to snap the Galilean moons (second picture). The first two pictures below are phone pictures. From the third its DSLR stacked (more on that below!)
The start 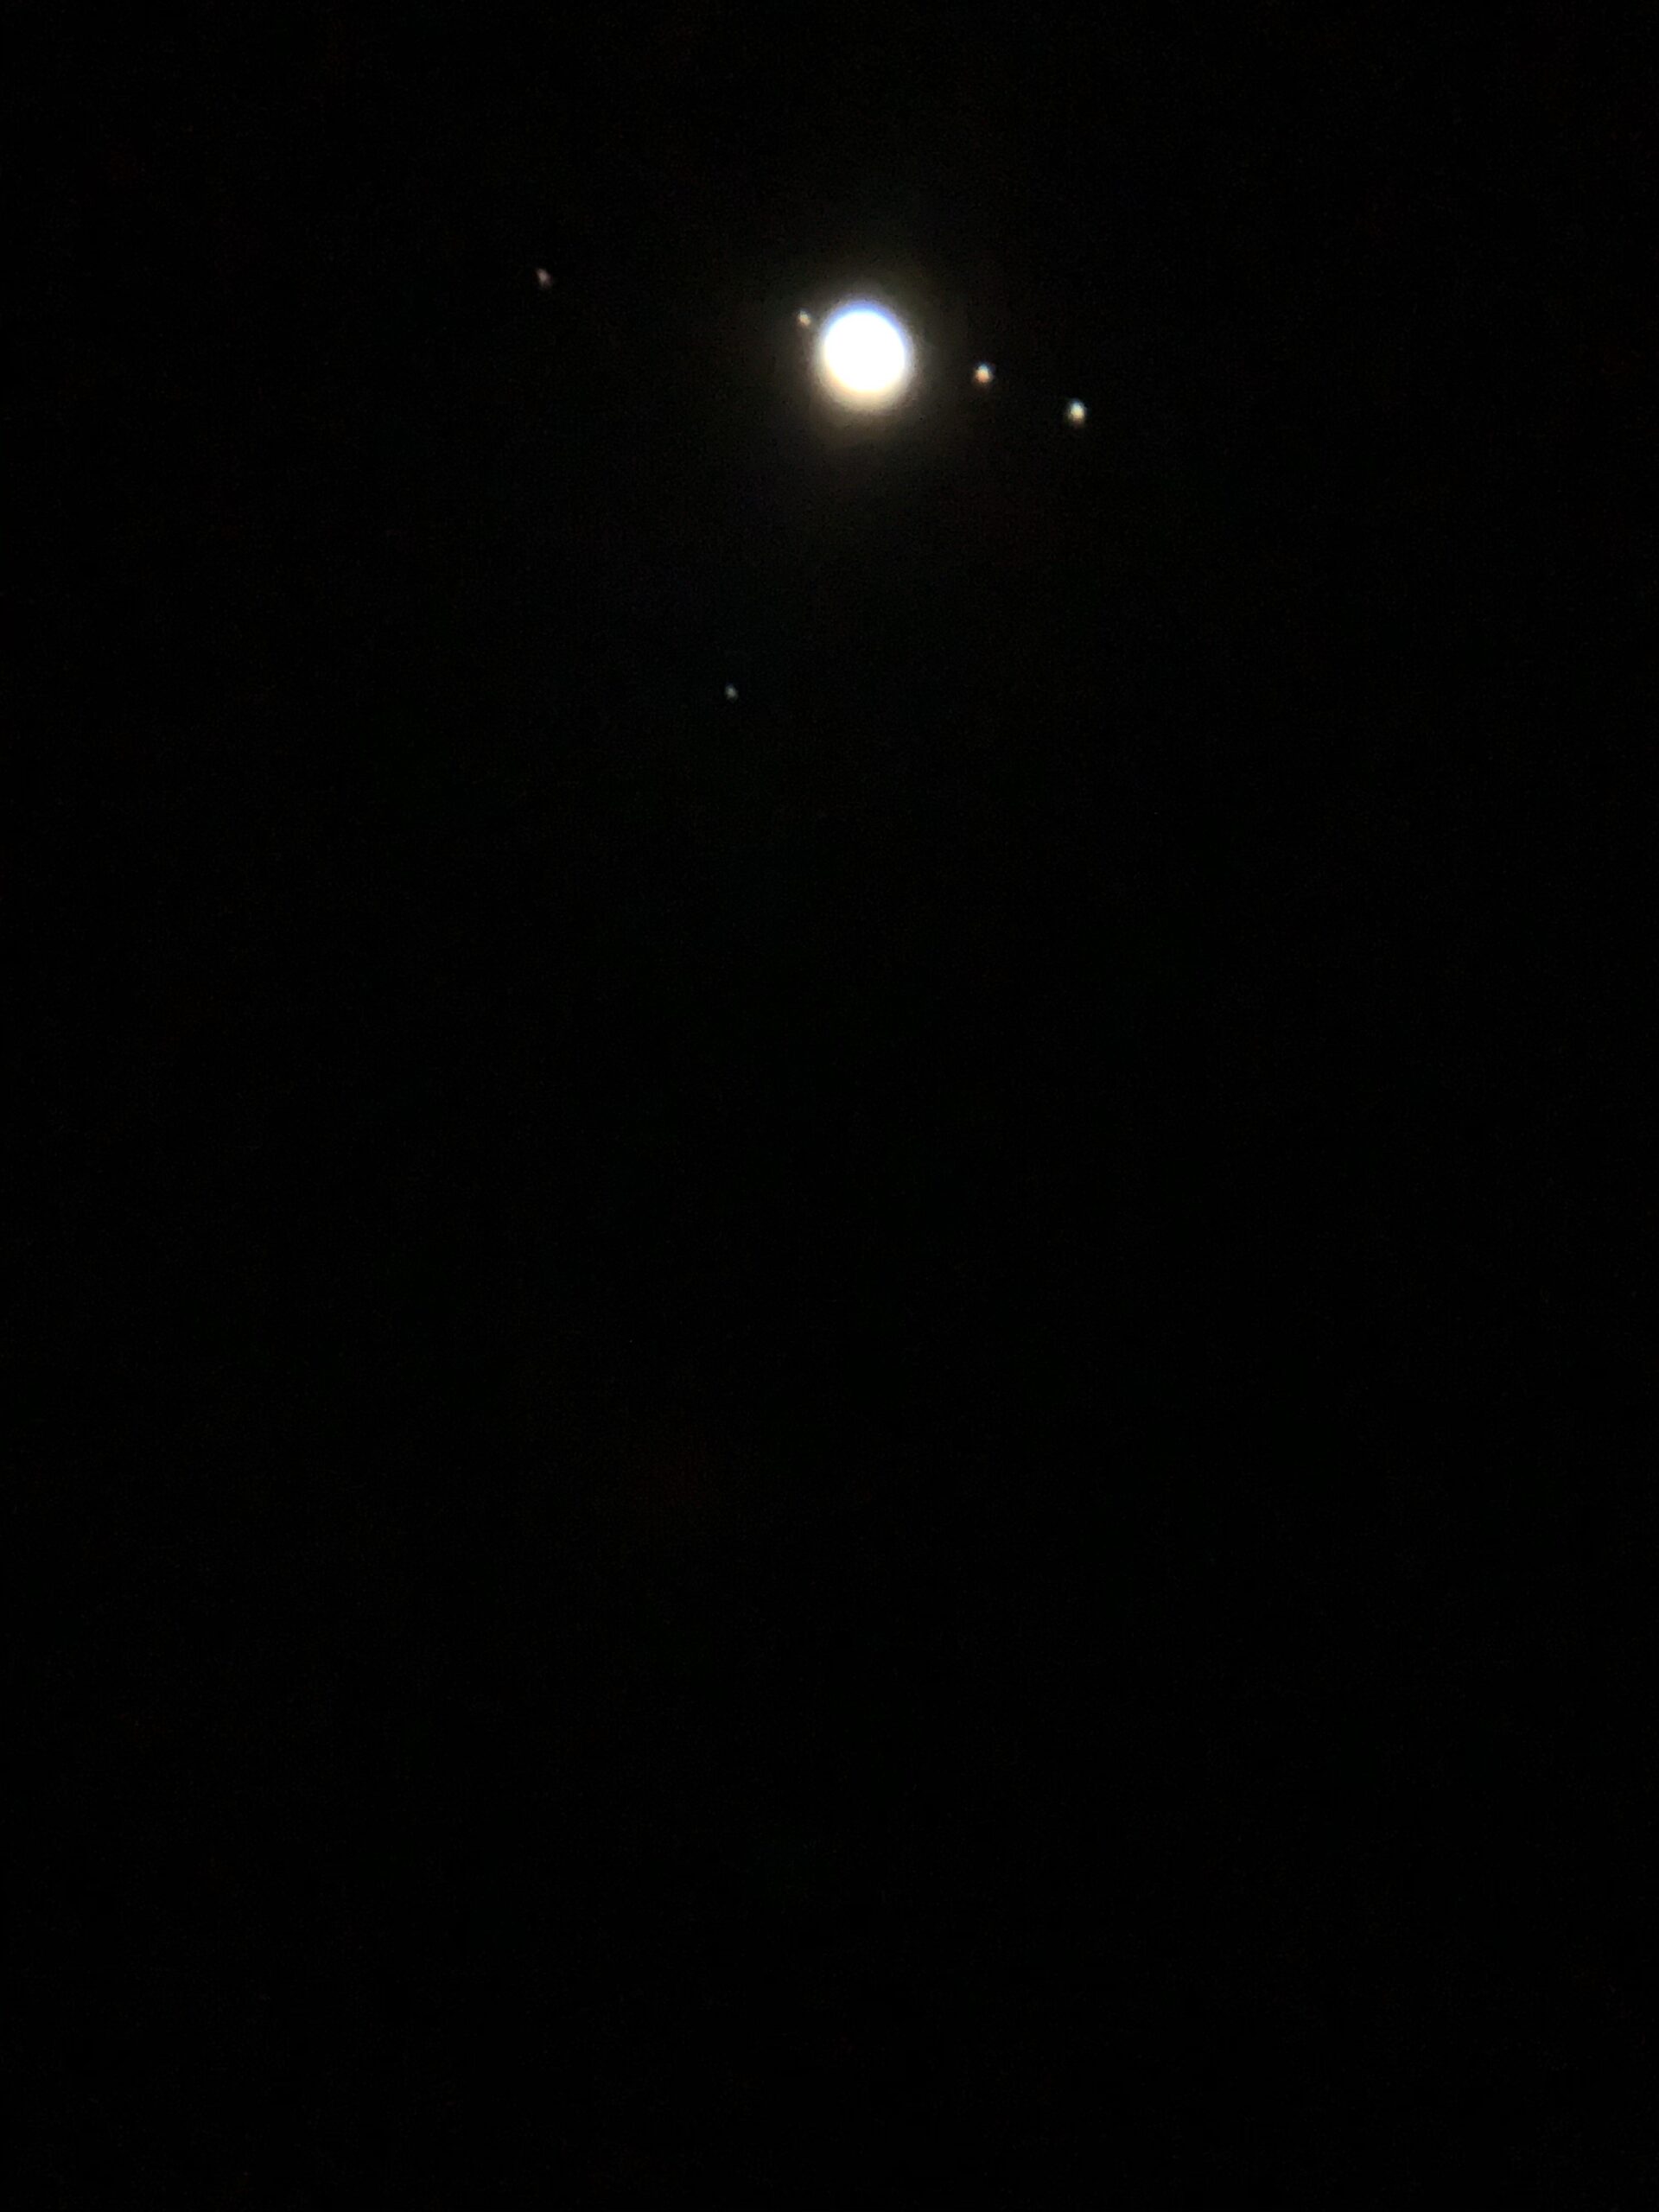
The moons 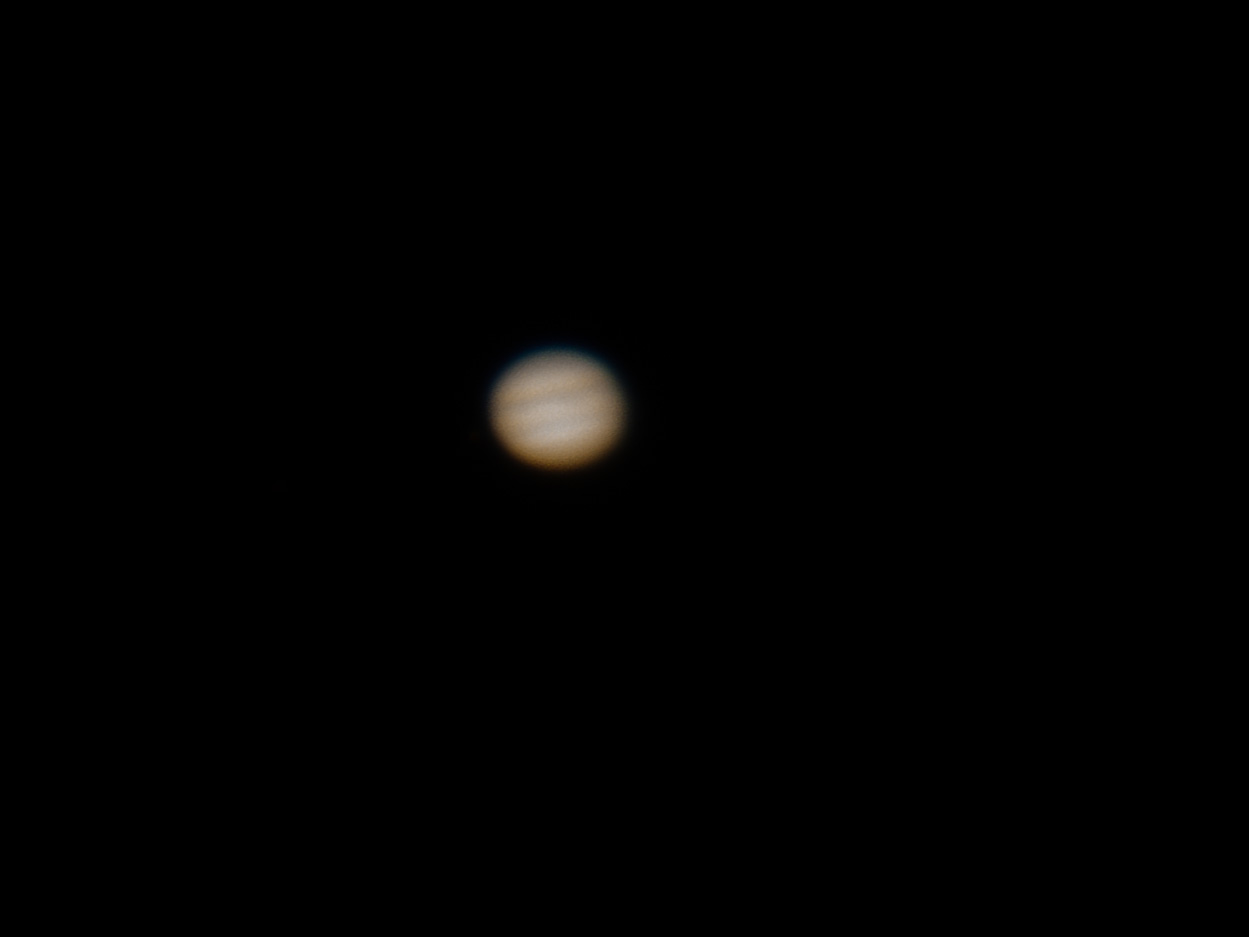
getting there 
What you need to do is record videos. Either using a dedicated astrowebcam (I got the Svbony SV305 that I have not figured out yet). I’m using the Canon 700D DSLR. In itself, a video is a series of pictures, recorded at a rate of around 25 frames per second.
The atmosphere
Atmospheric conditions are changing all the time. This is observable in the eyepiece as the planets will shimmer, details that are there, and gone the next. A 3-minute video or so will get you around 4000 frames. Some good, some bad. But chances are that a lot of details were visible at some point in the 3 minutes! (note: Ideally for Jupiter keep the clips around 1 minute, otherwise, you might get some smears in the composite later due to the fast rotation of the planet).
Seeing also influences the amount of magnification you can use before everything gets blurry. So before starting with pictures have a look what you can see with each eyepiece length and at which point you can’t focus anymore.
Editing
Next step after you have made your video is to use special software:
https://sites.google.com/site/astropipp/ (PIPP – Planetary Imaging PreProcessor). I use this convert the .MOV file into .AVI and to do initial selection of the “best” frames from the video.
https://www.autostakkert.com : AS3 does the actual stacking of the images. All frames are aligned and combined to create the cleanest and most detailed image possible.
https://www.astronomie.be/registax/ : Registax 6 is used to further enhance the resulting stacked image using Wavelets (de-noise and sharpen)
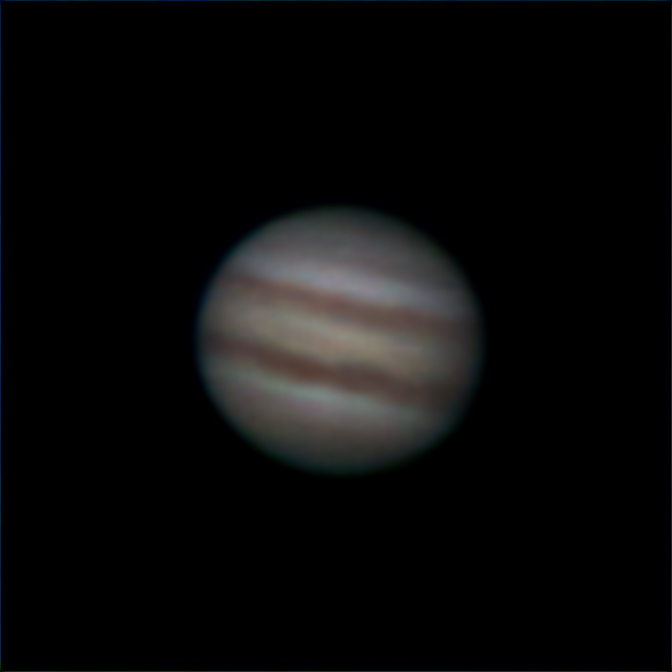
Final edits are done in Adobe Lightroom to correct lighting levels resulting in below image. Looking back at the first image in the above gallery it was a journey indeed!